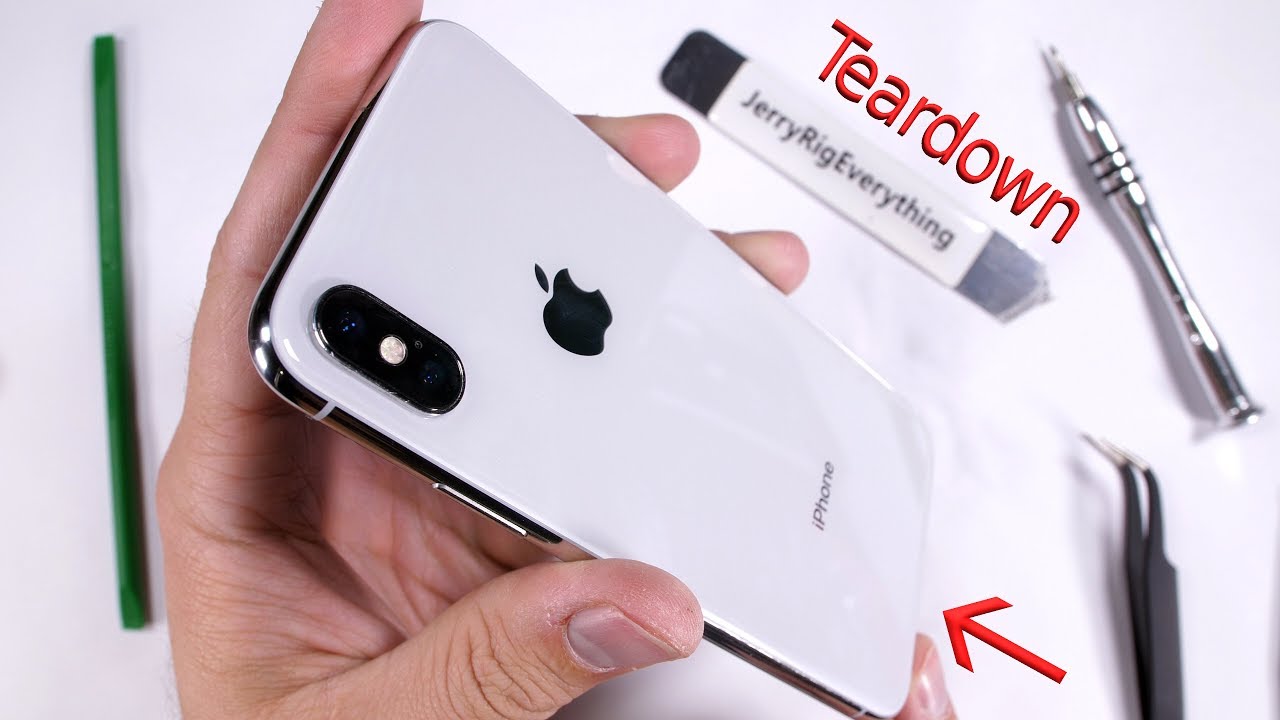
It’s time to tear down the iPhone X. This video will show the basic screen replacement, together with how I swap out the uniquely shaped artillery inside of Apple’s newest flagship. Coincidences happen, and things wear out andbreak. So it’s good to know to how come things backup and running. Let’s get started.[ Intro] Getting into this phone is pretty similarto the iPhone 7 and iPhone 8, but it does get a bit easier formerly you are inside. The same familiar two pentalobe bolts areat the bottom of the phone. I’ll have a little tool pack related in thevideo description for you, along with all the portions needed to complete these replacements.After getting these two clamps out, I liketo warm up the screen a bit by soothing the ip6 7 water-resistant adhesive under theiPhone 10 showing. I’ll give a suction bowl and a crowbar implement to liftup on the glass a little and get my metal crowbar implement between the plastic margin of the screenand the metal border of the make. Then I can slice along the edge of the phone, only underneath the glass, to detach the rest of the adhesive. When the screen is mostly free, it doesn’tpull down this time to unlock, but instead just folds right open like a book. The ribbons you envision on the right side of thephone are extremely fragile, so don’t kept any push on them. Apple did simplify the process with simply onemetal bracket this time, which is nice of them.Still using the same y triple zero screwsas previous iPhones. I’ll withdraw existing 5 fastens holding that metalplate down and then keep them unionized off to the side because they surely need togo back in the same hole they came out of. It was also nice of Apple to keep all the connectorsin one solitary row for us here in the center.The connectors we care about during this videoare firstly, the artillery connector. Representing sure to use a plastic pry implement whenlifting this off as to not short-lived out the artillery. Then we can detach the two screen ribbons, one at the bottom right, and the other at the bottom left side of the connector row. And the last guy is for the earpiece and microphone. That is something that separates like a little Lego fromthe motherboard. And here is the screen. Quite a bit simpler design now that we don’thave the fingerprint scanner at the bottom. These OLED exposes are definitely going tobe more expensive than the LCD iPhone screens of the past really because the part itself costsa lot more. I’ll have the current pricing in the descriptionlike always. It does fluctuate with term and will get cheaperas the phone gets older.The brand-new screens will probably not come withthe earpiece affixed, so there are 3 more screwings when you carry over. I’ll gather these out, being careful to keeptrack of the little golden niblet on the top fucking. Then I can fold the speaker down and apart, allowing me to haul up the microphone and the other tiny sensors. These ribbons are extremely fragile, so goslow and be careful. Now that I have the speaker out, it reallydoes is dependent upon how the brand-new screens ship, but you might also need to transfer over someof the clear plastics, but that’s not too large of a agreement. Historically, Apple has not made things easyfor beings trying to fix their own telephones. With the old-time wrongdoing 51 and fingerprint scannerhardware issues, they’ve draw things pretty complicated. But with this screen we shouldn’t have anyissues. All of the phone’s face unlocking hardwareis still bind to the phone and not a part of the presentation, so thumbs up for that.With only the flaunt and digitizer connectorsleft on the screen, we should be safe. I’ll set the screen back together before jumpingonto the battery replacement portion of this video. It’s pretty straightforward with all of thesensors going in the same slots they came out of and then the earpiece orator foldingover back on top of them. There’s the three y triple zero jailers holdingeverything in place.Make sure to get that gold niblet back onthat centre clamped. I’m not sure exactly what it does, but it’sprobably important. Remember, the parade is one of the most expensiveparts of this telephone, so be nice to it. Now let’s take a shot at removing the oddlyshaped artillery. Since the screen is already off and the batterydisconnected, I’ll give the first magical drag invoice at the top of the battery and slowlypull it out from underneath.These are very fragile, so go slow, plus thatsound is delicious. At the bottom of the battery there are 3 morestubby pluck tabs. These are hard to get at, but if you havea pair of wide tip-off tweezers, that would be ideal. With my needle tips-off I’ll simply grab the edgeand then pull it out as best I can with my fingers. If you do fail at pulling out the magicalpull tabs, you’ll have to commence the Pry of Shame. Another manoeuvre that might help out is to grabthe tweezers and change the pluck tab around the tip of the tweezers to get a better grip. And now the battery is out and this is themost unique battery I’ve ever seen inside of a cellphone.Kind of interesting intend option. Hopefully the substitutions aren’t too expensive. Like always, I’ll have them attached in thevideo description. Below the battery we can see the wirelesscharging and the metal chassis of the phone. If you’re replacing your own battery, you’llwant to use some double sided strip to keep things from twitching around. Personally, I’m going to be opening this phoneup more in the future, so I’m skipping my adhesive for now. With the artillery in place and the 3 ribbonscoming from the screen I’ll reattach to that center connector connect, I can finally plugin the battery.It goes in last-place only to be safe. I’ll test the phone out before adding thatmetal plate just to make sure everything is working. If there are routes going through your exhibition, or it’s gray, or nothing shows up, it might just be a bad joining. Re-seat those little Lego connectors and tryagain. My phone is turned back off and the metalplate slips into residence with it’s five screws. All of these are different sizes so they needto go back in the same hole they came from. Finally the phone can fold slammed just likea little book and time down into place.And everything is still working. I’ll toss the bottom two pentalobe screwsback in and it’s ready to go. If you enjoyed this video, or if it helpedyou out, touched that agree button and come hang out with me on Twitter and Instagram. Let me know in the comments if you have anyquestions. And thanks a ton for watching. I’ll see you around ..