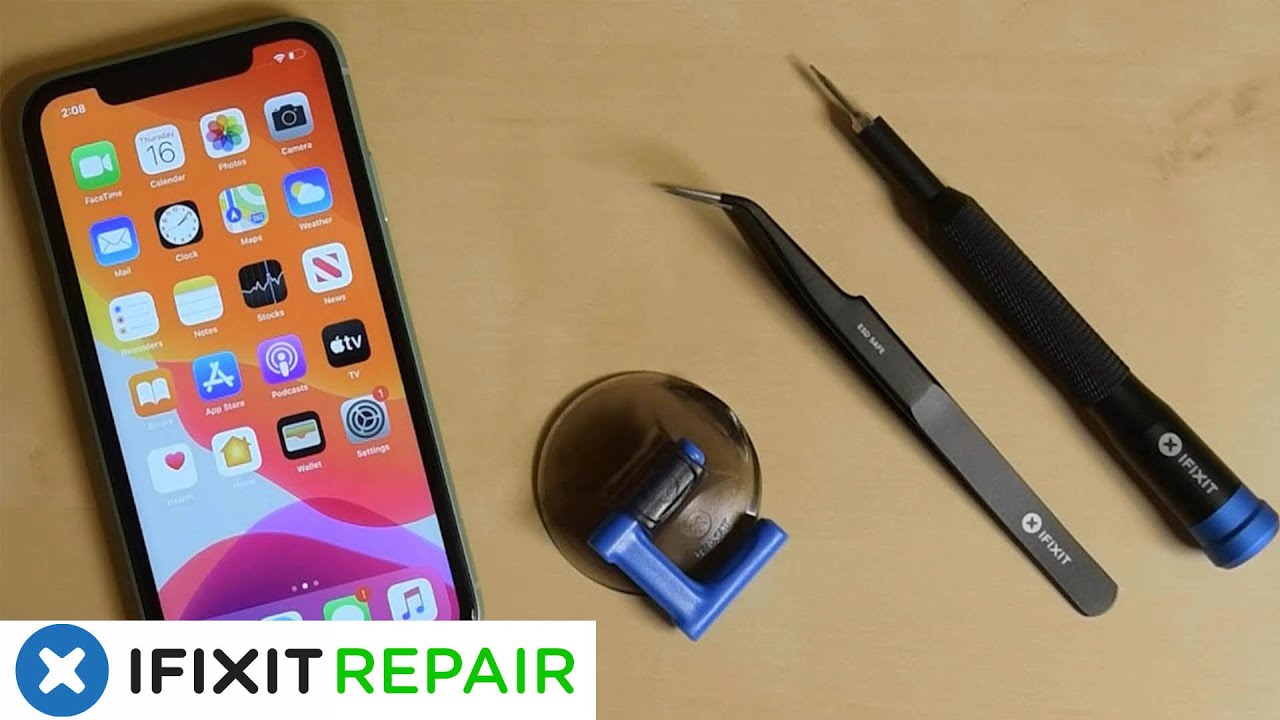
the screen on the iphone 11 may have been strengthened through a dual ion exchange process but it’s not indestructible lowerings can cause cracked and crushed screens but ousting the screen in your iphone 11 is actually pretty easy and you don’t need to rely on apple to get it on for you for this repair you’ll need an eye opener a designate of ifixit opening pickings a suction handle or ice clatter a spudger tweezers and the following screwdriver flecks a p tube pentalobe flake a y triple zero part and a phillips triple zero bit alerting opening the iphone’s expose will settlement its raincoat shuts have permutation seals ready before you started past this pace or take care to avoid liquid exposure if you reassemble your iphone without replacing the seals before you begin your fixing discharge your artillery to below 25 a charged lithium-ion battery can catch fire and or explode if you accidentally injure it while you’re doing this repair power off your phone and then remove the two p2 pentalobe clamps at the bottom edge of the phone near the charging port the iphone’s flaunt is fastened with some adhesive to soothe the adhesive you need to place a hot eye opener on the bottom edge of the phone and leave it there for about a instant if you have a cracked display suction beakers might have a hard time attaching to the glass if you’re having trouble getting them to stay cover the display with a piece of clear carry videotape if you have an ice clack on hand the next step will be easy but if you merely have an ifixit suction handle follow the opening procedure on the usher at ifixit.com sentiment the goblets of the ice clock near the bottom edge of the iphone one on the breast and one on the back and then press the goblets securely into residence moving sure the suction hires hold on to your iphone securely and close the administers of the sparkler clock it is therefore slightly separates the screen from the rear instance of your phone but be careful don’t try and separate the whole thing we’re only trying to make a gap for the next step when you find a small gap appear insert an opening pick into the gap under the display to make sure the adhesive doesn’t read now formerly set slide the opening pick around the lower left area and up the left edge of the iphone make sure you slice through all the adhesive holding the display in place exactly be careful not to insert the collect more far you could detriment the internals and you don’t want to make this a two-part repair to you make your select and implant it again at the bottom edge but this time you predicted it slip it up the right side of the phone to continue separating the adhesive the upper edge of the display is held on with both adhesive and times so gently pull the right side of the display down somewhat towards the lightning port and position your pick in the top right corner while gently pulling down move the collect across the top edge of the iphone and trimmed all the adhesive in the way now all the cements should be separated you can open the iphone up by shake the display up from the left side kinda like the back make of the book exactly be careful and don’t try and lift it all the way off it’s still attached to the phone via ribbon cables next grasp something for you to prop up the spectacle like an old iphone casket and if you require you can even use a rubber band to hold it there you’ll need your y triple zero part to remove the three nails ensure the artillery connector in place and then use some tweezers to remove the bracket from the iphone with the pointy tip-off of your spudger or a clean-living fingernail crowbar the artillery connector up and away from its socket on the reasoning council seizure your y triple zero again and remove the five fuckings from the logic board comprise bracket[ Music] and use your tweezers to remove the bracket disconnect the lcd panel cable the digitizer and the figurehead body assembly connector with your spudger or clean-living fingernail formerly this really is undid you are eligible to free the flaunt from the rest of the phone at the top of the spectacle we need to remove the front assembly begin by removing four fastens three being phillips and one y triple zero use the point of your spudger and gently pry up the top edge of the speaker and move the speaker assembly down and away from the top edge of the exhibition but don’t gather it out hitherto it’s still held in place by a cable apply your eye opener heat up the top breast of the display for about one to two minutes so that we can soften the adhesive holding down the sensors then carefully slide the edge of your opening select underneath the flex cable clearing sure to get under the microphone slowly twist the pick to separate the microphone lifting it up precisely be really careful with your tweezers slide the small bracket straight up and off the ambient daylight sensor then use the same tweezers to wiggle the ambient lamp sensor from its notch in the display don’t pull it off the showing though it’s still appended via the flex cable working from left to right slide your select beneath the flex cable and underneath the proximity sensor spate illuminator module gently wiggle and lift the earpiece speaker and figurehead sensor assembly to separate it from its notch in the figurehead panel formerly everything is free set aside your figurehead board assembly as you’ll need to transfer this part to your new display with your brand-new display in hand grab your earpiece loudspeaker and front sensor assembly gently press the closenes sensor and avalanche illuminator into the respective slits on the presentation next with some tweezers slide the ambient sunlight sensor back into region and plaza its bracket straight-shooting onto it with your paw gently press the microphone back into sit and press the flex cable below the microphone onto the display drawing sure it’s all hole adhered you can also use a spudger for this step now you can flip the speaker assembly over and reinstall the four nails fastening the breast assembly in place before you append your display you need to add new adhesive so you can retain water resistance in your phone we have a video on how to do that and we’ll link to it in the specific characteristics below bring your display over to your telephone and with your clean digit or spudger reconnect all the cables from the display back onto the logic board now you can connect the artillery again once finished put the bracket that includes the connectors back on and screw it back into sit if your expose still has the adhesive liner go ahead and remove it now we’re ready to lay the display back down on the phone carefully lower the display and align the times along the top fringe and then carefully press the top edge into place before you press the rest of the display down if you catch some resist check the condition of the clips around the perimeter of the expose and make sure they’re not bent now go ahead and bolt back in the pentalobe clamps you