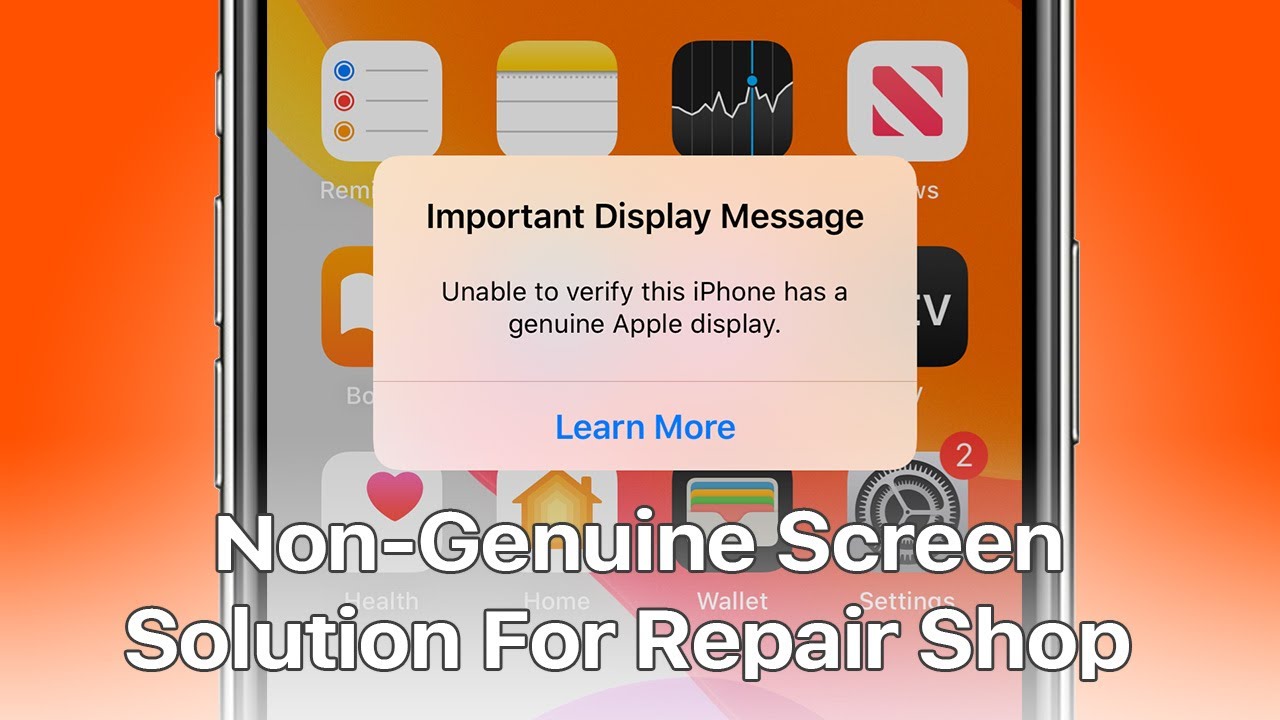
The phone comes with an uninterested and damaged screen We need to replace a brand-new screen Disassemble the phone and withdraw existing screen Have a new OEM screen lay Press the superpower button to turn on the phone Important showing send materializes Tips: Important render meaning will be presented after third-party display specifies It has nothing to do with the replacement screen Whether it is an aftermarket screen or an OEM screen Why does the iPhone 11 series screen fixing warning seem? The arrangement will check the touch unit data during startup Since the touch unit is located at the back of the screen Replacing the screen can cause a discrepancy between the touch cell and phone data The only practical mixture now is soldering the contact force The original screen is on the brand-new substitution screen Too, since the touch unit is located on the back of the screen Traditional disassembly tools can easily damage the screen We will adopt the new microchip milling tool today Attach high temperature tape around the touch unit to the replacement screen Then package the screen with a protective film Now we will be grinding the signature section with an electric foil grinder Be patient while grinding Start with the top coating and then move on to the next blanket Also take care not to damage the adaptable cables that are nearby With the solder joints out, stop grinding operate Clean the bonding pad with a cotton exchange soaked PCB cleaner afterward Now we need to remove the touch unit on the original screen And paste it on the brand-new substitution screen Remove the headphone amplifier and the Sensor Flex Cable on the original screen Then target a piece of paper under the flexible way cables Heat with hot air gun at 300, air overflow 30 Lift the way module on the original screen Then apply low temperature solder paste to the suggestion measurement Heat with a soldering iron at 365 C to cleanse leftover solder adhesive and pitch-black adhesive Clean up well with the Solder Wick subsequently Then clean-living with PCB Cleaner Continue to reconnect the touch part Now we need to solder the touching module accomplished from the restart to the replacement screen Before welding, slip a crowbar fragment under the flexible impres cable For a better led, we can apply some booze here Now metal illustration and paper are used for thermal insulation So as not to damage the screen due to overheating during welding Apply some of the paste flush to the bonding pad Put the style gang in the chasten plight Solder with hot air gun at 300, air overflow 30 Once done, is looking forward to 5 minutes Install the earpiece and sensor flex cable Now we are able to assemble the phone and evaluation Press the strength button to turn on the phone Go to Settings> About There is no important parade message now Tips: Professional motherboard restore skills and manual work skills are needed during the process Beginners are not recommended to oust the screen to mimic the process Otherwise, the screen may be damaged