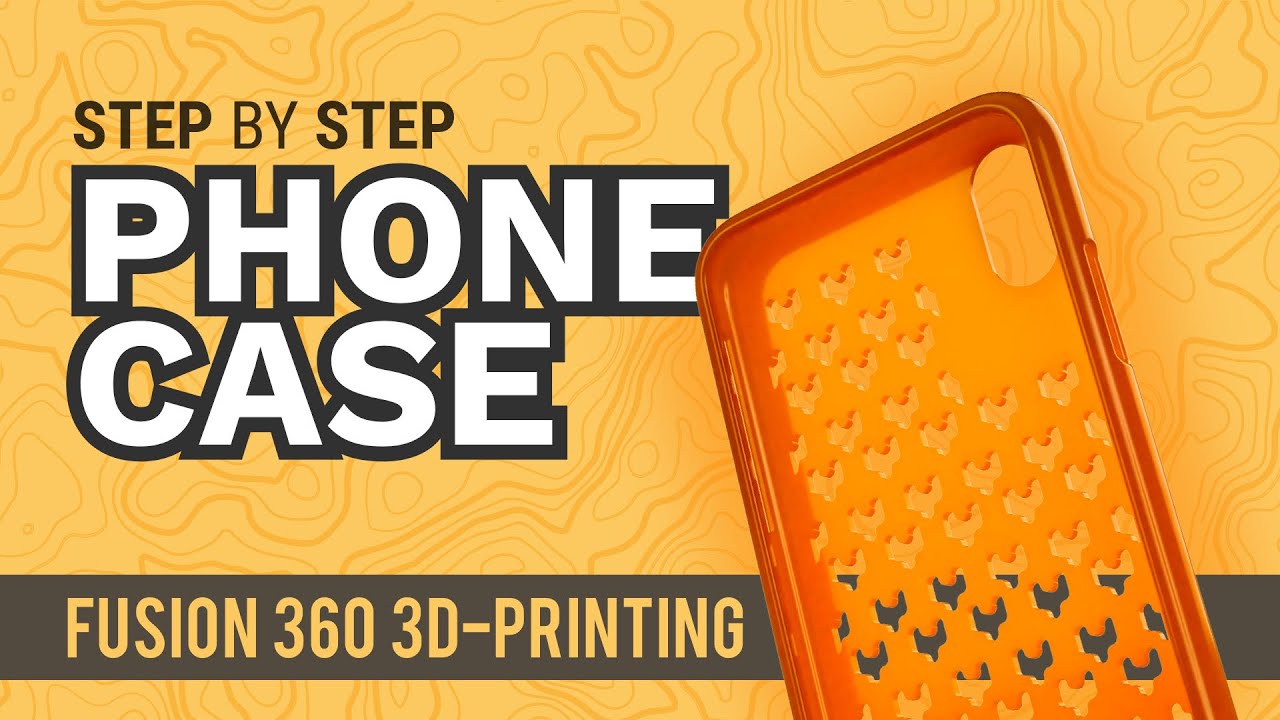
Whats up there it’s Kevin Kennedy and welcome to day quantity 10 of study fusion 360 in 30 days by the top of this tutorial you’ll be capable to 3d mannequin a cell case for 3d printing you’ll learn the best way to upload records how one can use the extend sketch feature find out how to mission a sketch and tips on how to export your STL file for 3d printing earlier than we get started we’ll wish to make certain that our report settings are set to millimeters if they’re no longer which you could click on the change active items icon below the file settings and decide on millimeters from the drop down list now i will import an iPhone X for this demo which I’ve linked up in the description if you have a different telephone which you can import the mobile of your alternative and comply with the same steps on this tutorial as there are plenty of free CAD files online I double-investigate the dimensions of this mannequin and i will import it when you consider that it will save time and i will be extra all for the design of my cellphone case and no more involved about the total dimensions to import the file i’m going to open up the data panel click on the blue upload button and pick the file from my computer after the file has efficiently uploaded we can double click on it to open up the file now an primary step right here that you don’t want to miss earlier than we begin modeling anything we are going to wish to proper-click on on the foundation of the browser tree and choose capture design historical past to convert to a history headquartered design if we did not do that you would not see a timeline down right here as imported units and fusion are treated as direct modeling not history situated design now a mobile case can appear beautiful complicated however we’ll spoil it down step by step making it into potential chunks so the very first thing that I want to do is create a band that follows around the external shape right here and at this factor i’m now not concerned about all of the button cutouts i’ll create a brand new sketch on the XY plane and i’m going to prompt the spline command from the sketch drop down menu now i’m just going to copy this curve form the iPhone right here and i will drag across the spline handles until it appears correct now we’ll want to create the thickness of the case before we go ahead and sweep this form around the mobilephone to do that i will hit letter O the keyboard shortcut for offset and i will punch in two millimeters for the dimension and hit ok that you could punch in some thing dimension you would like but I found that two millimeters works lovely well for 3d printed cellphone instances now i’m going to have to close this form off since we want a closed profile with a view to sweep it alongside a direction i’m going to hit the keyboard shortcut letter L for line and i’m going to draw two vertical strains one on the top and one on the bottom then i’m going to decide upon lengthen from the sketch drop down menu and i will lengthen both of these lines with the aid of picking out them and before we move on i’ll hit letter T to set off the trim software and i will go forward and trim the surplus strains away now we can sweep this profile around the external of the cell with the aid of activating sweep from the create drop-down menu then i’m going to decide upon the profile form that we simply created and i’ll pick every line right here of the telephone model until it follows the trail the entire manner around to the opposite end all righty so now that we now have the fundamental bumper of the mobile case we are going to need to reduce out the holes for the buttons i will go ahead and pick the suite that we simply created and i’ll hit the keyboard shortcut letter V which is the shortcuts of view or conceal objects then i’ll create a new sketch off the buttons here and i’ll set off the rectangle software with the keyboard shortcut letter R i’m simply gonna drag over all the buttons after which i’m going to hit letter s to bring up the sketch search box and i will form in fill it i’m going to choose the sketch fill it right here to not be confused with the modified Phillip command and i’ll add a Filat of 1.5 millimeters to each corner now that we’ve got the shape to reduce out will spark off the extrude command with the aid of hitting letter e on the keyboard i’ll opt for the profile shapes right here and i will exchange the path to two sides i am just going to drag both arrows out making sure that they are a long way enough to cut via the cellphone case i’m going to click on good enough on the extrude dialog field and i’ll click on on the sunshine bulb to turn the mobile case form back on now watching on the cell case we will see that we failed to without a doubt cut through it and we messed up our iPhone model right here now I need to show you guys a cool characteristic that is most often overpassed with the extrude reduce command if we double click on the extrude command to open it back up we’ll see at the backside of the extrude dialog box we are able to opt for or deselect objects to cut repair our telephone here we are going to want to unselect all of the bodies of the phone and we will need to pick the one body of our cell case then we are going to click on alright to exit the command and take a look on the results at this point i’ll do the same targeted steps to the button on the opposite facet here and i will pace up the screencast for the sake of time in its current state you could go away the mobile case at this making a first-rate minimal bumper like cell case or we are able to proceed on by using making the back of the mobilephone case so create the again i’m going to seem at the bottom of the case now we are going to want to add a solid again so i will create a construction plane by means of two edges with the aid of selecting it from the assemble drop-down menu i will effectively select one area and then the opposite area and you’ll be able to detect the airplane is created and i will click okay to exit the aircraft dialog field now we will create a new sketch by correct-clicking on the airplane and opt for create new sketch I wish to reference the phone shape that we have already got so i’m going to decide on all the traces right here even as protecting down the shift key once all of the traces on the highest are selected i’ll flip them into sketches by using going to task below the sketch drop-down menu or through hitting the keyboard shortcut letter P and for some rationale right here the undertaking sketch failed to work so i will go back round making certain that i’ve chosen all the lines now as soon as we see that orange tint we all know our profile form is closed and i can hit letter e to set off the extrude command i’m going to extrude this right down to millimeters making sure that I take into account to prefer become a member of as the operation now that we now have the button cutouts on each aspect we will need to make a cut out for the bottom where the charging port and audio system are i will select the case and i will hit keyboard shortcut letter V once once more to hide it and then i’m going to reshow the cell then i’m going to create a brand new sketch off the bottom right here this time i’m simply going to make use of the road command to create an angled reduce out and i’ll draw a line on the left facet after which i’m going to draw a line from the core which i’m going to make a development line with the keyboard shortcut letter X now i’m going to use the replicate sketch command to make certain i have the same angle on the other aspect and then i’ll connect the strains on each the highest and the bottom i will hit letter e to extrude and i’m going to decide on the profiles right here that I want to cut out once again i’m going to be certain that is multi-directional and that the operation is ready to cut i’ll click ok we exhibit the telephone case and double click on on the modern day extrude in the timeline i’ll need to be certain that the mobilephone case is the only body selected below the operations to reduce list now on account that I delivered a again i’m going to also have got to reduce out the hole for the digicam i’ll hit the keyboard shortcut letter C to create a core circle on the highest of the digital camera and then i’m going to create a 2d one now i’m going to hit letter D on the keyboard to dimension them set 13 millimeters every and then i will hit letter L to connect them with tangent traces so that you must see the little tangent icon show up subsequent i will spark off the trim function with letter T and i’m going to trim out all these useless strains then i will go forward and do the equal steps we have now been doing by extrude reducing this gap out of the telephone case and no longer the mobilephone itself now at this factor you might very nearly be achieved but this is additionally where which you can quite get creative and insert an SVG with a logo maybe add some textual content or that you could additionally create a sample for the again of your phone case so i’ll insert an SVG pattern that I created if you need to use the same pattern i will put a link to it below in the video description i will go to insert and decide on insert SVG after which i will select the again of the mobile case as the airplane i’m going to just resize the sample right here and transfer it round unless it appears adore it’s within the proper position once the pattern is in situation i can drag over the entire sample to pick all the profiles and i will hit letter e on the keyboard to extrude cut them i’m going to drag the arrow right down to make sure it can be reduce all of the approach by means of and i will click on ok at this factor we’re just about executed the last factor that i might advocate doing right here is to add some pleasant rounded edges to the entire outside borders so i’m going to choose fill it from the modified drop-down menu and i’ll add a fill it of 1 millimeters to all these edges and then i will go forward and do the equal factor around the button and camera holes now if you are watching to export this for 3d printing that you would be able to correct-click on on the telephone case body and a browser tree opt for retailer as STL and retailer the file or you could also export it instantly to your 3d printing program thanks for staring at please hit the thumbs up button below in case you be taught some thing on this video and click on Subscribe adopted by means of that little bell icon to be notified of recent fusion 360 tutorials you you